Storage of ceramic caps of beer bottles
Over the years I
tried differnt ways of storing ceramic beer bottle caps and saw
other solutions from fellow collectors. The subsequent examples
are intended as suggestions to other collectors. Of course I'm
alwas interested in further ideas how a ceramic bottle caps
collection could be stored or displayed.
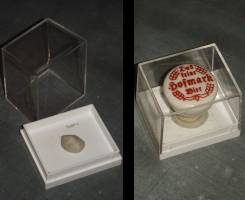
Fig. 1 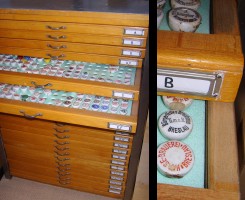
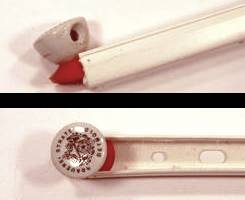
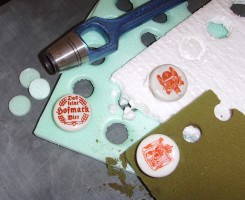 Fig. 2
My collection of
ceramic bottle caps is stored in an old wooden architeict's
cabinent (Fig. 1). The cabinent contains 24 very flat drawers
(inside hight about 2.5 cm), so that there fit manny ceramic caps
in a very small space. Inside the drawers I put inserts made from
a special type of foamed polystyrene. Into these inserts I punched
manny small holes, each of which accomodates exactly the lower tip
of a ceramic cap (Fig. 2). This way 360 ceramic caps fit into one
drawer resulting space for a total of 8640 ceramic cap. However
this cabinet is only 100 cm high, 75 cm wide and 65 cm deep.
Selection of the right type of material for the inserts is important. The left hand panel above (Fig. 2) shows different materials I tested for these inserts.
Selection of the right type of material for the inserts is important. The left hand panel above (Fig. 2) shows different materials I tested for these inserts.
- Regular foamed polystyrene (white, top of Fig. 2) is not very well suited, as it is difficult to punch out holes and as the material tends to release manny small polystyrene particles.
- Special foamed polystyrene (Fig. 2 middle, light green), which is sold in do-it-yourself stores as impact sound insulation to be placed below laminate.
- Finally I tested a sponge-like material which normally is used to fix flowers in flower arrangements (Fig. 2, lower right-hand side, olive-green). Thes material is suitable to easy punch holes into it and it also easily adjustes to the exact shape of cermaic bottle caps. Unfortunately this material is not very durable and in addition releases a powdery unpleasant dust.
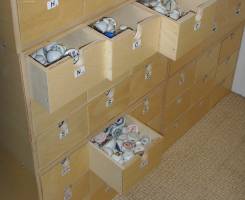
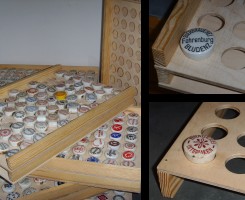
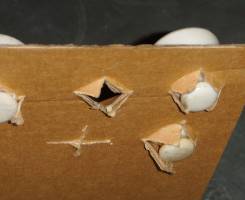 Fig. 6
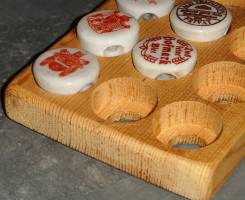
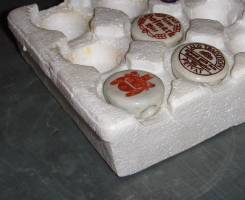 Fig. 8
A very simple way of storing ceramic bottle caps is the use of inserts of foamed polystyrene used for packaging of ketchup tubes (Fig. 8).
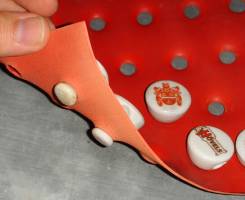
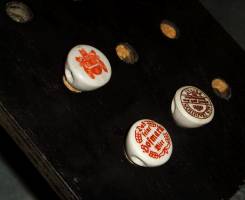
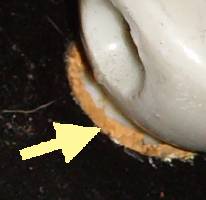 Fig. 11